
The album is about my recent trip to NYC with my best friend, Kim. Neither of us have been in the city in years. Honestly, you'd think we lived half way across the country instead of just a few hours away, but I hadn't been to NYC since I was pregnant with my son and he'll be 12 in July! Yes, I know shame on me, but we had such a great time, I know we'll be back soon.
 This is us at the Top of the Rock and that's the Empire State Building in the background. It was a cold day, but there wasn't a cloud in the sky and you could see the entire city.
This is the cover of the mini album. The paper is all from Cosmo Cricket's Circa 1934 line. I love all of the vintage colors of the paper. It was perfect for our trip. I made the lollipop flower myself and was amazed at how easy it was to do. I just cut out four different sized circles and then spritzed them with water and crumpled them up. Then I just stacked them on top of each other and secured them with a little brad.
I also really liked the little banner at the bottom. It says..."for the rest of the story." What's funny is this is actually just a little phrase that's at the bottom of each of their papers. I thought it would be cute for the album since it was documenting out trip.
 This is page one. I wanted to keep it very simple. Obviously I'll add a picture into the black frame. I cut out the camera from the Create a Critter cartridge and the little sticker is from the Circa 1934 kit.


See my little cupcake tag? I originally made this because on our way home from NYC, we stopped in Hoboken to visit....

Buddy, the Cake Boss! Unfortunately, this is as as close as we got because the line to get inside was more than two blocks long!
Thanks for stopping by and enjoy!
 This is page one. I wanted to keep it very simple. Obviously I'll add a picture into the black frame. I cut out the camera from the Create a Critter cartridge and the little sticker is from the Circa 1934 kit.
On this page, I created a little pocket using a legal sized envelope. I covered it with paper from the collection and then used my 1 1/2 inch circle punch to create the little notch at the top.

Inside I added a frame to include some more pictures and some journaling about the weekend. The tag on top of the pocket is from the collection. I added the "Good Times" from a Fiskars stamp I own. And, in case you can't tell, all of the edges are inked with the Tim Holtz Distress Ink in Vintage Photo to add to the vintage feel.

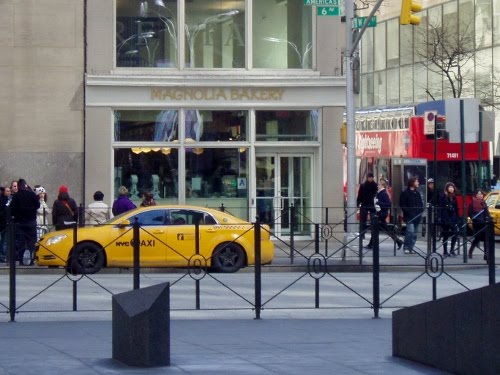
This is another pocket page created with a piece of 12x12 paper. I found the tutorial on YouTube by searching pocket pages. You actually create three different pockets, two in the front and then one on the left side. I thought it would be perfect to hold some of our ticket stubs, receipts, and miscellaneous things we grabbed along the way...see the little Magnolia Bakery business card? Yep, we stopped and had a little cupcake treat.

See my little cupcake tag? I originally made this because on our way home from NYC, we stopped in Hoboken to visit....

Buddy, the Cake Boss! Unfortunately, this is as as close as we got because the line to get inside was more than two blocks long!
So there you have it, the first couple pages of my first-ever mini album. I hope to have the rest completed soon and will be sure to post them once I do.
Thanks for stopping by and enjoy!
1 comments:
Creative craft. I love this. You inspire me to make one for my baby :)
Watching TV Makes You Fat
Post a Comment